Today’s diary entry is another chapter in the range hood saga, which began here.
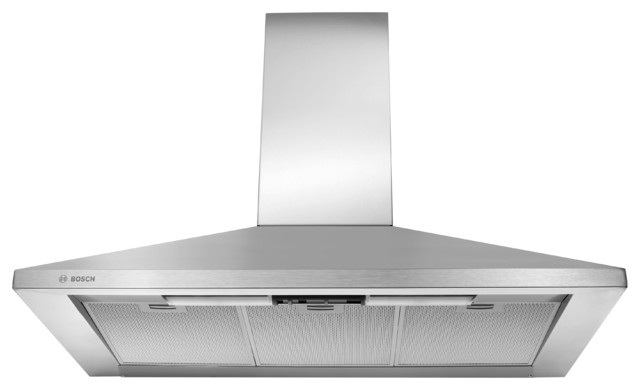
We knew we would need to take down the cabinet over the existing range hood because we were installing a chimney hood, but after reading the installation manual (yes, we do that), we discovered that this range hood is supposed to have an extra 3 inches on each side of it, which meant taking down the two uppers on either side. At some point we plan to replace the cabinets anyway, so this wasn’t too disappointing. Plus, this will give us a chance to try open shelving in the kitchen!
On Monday, my dad came over and helped us demo and do the electrical work we mentioned in the last post. We kept the old cabinets intact as much as possible (sorry, no crowbars in this demolition diaries entry!) so they could be reused elsewhere–most likely in the laundry closet that just has a wire shelf.
Our process:
- We pulled the range out from the wall (we have a 5 foot flexible gas line, so we just unplugged the electrical cord and moved it out from the wall) and covered it with thick towels to protect it from debris.
- We used materials around the house to build up a structure underneath the first cabinet (we started on the left and worked our way around to the other side) to support the weight of the cabinet. We used an “Ames Lawn Buddy” rolling garden caddy (on another towel to prevent it from rolling) and three college textbooks, which turned out to be the perfect height we needed. Other things like an old cooler would likely have worked, too, but we have a relatively new cooler that I didn’t want to damage.
- We took the doors off the first cabinet and labeled these so we would know which doors went with which cabinet once they were all in the garage.
- We scored the caulked edges of the first cabinet (edge by wall or where spacer strips were used to fuse cabinets together) with a pocket knife.
- We took the whitish caps off the screwheads and undid the screws of the first cabinet, a little at a time. Our screwheads were very corroded and a few of them required a hammer-tapping-screwdriver action to get them to loosen. Two screws would not unscrew at all. For these, my dad used a drill with a metal bit to rout out the cabinet around them (just enough for the screwhead to pull through with minimal damage to the cabinet), and then he wiggled the cabinet away from the wall.
- My dad held up the cabinet while I pulled the stack of stuff out from under it. The cabinet over the range he handed directly to me, but the others he set gently on the base cabinet before transferring them to the Lawn Buddy, which we used to wheel them out to the garage.
- Repeat steps 2-6 for each cabinet.
Our cabinets around the range were EXTREMELY sooty (Yikes!), and there was evidence of water damage where someone had plants on top of the cabinets and watered them regularly, resulting in little drips down the walls, swelling of cabinets, and bubbling/peeling of the thermofoil (Ugh.).

If you like to organize, you probably know that a space sometimes has to go from cluttered to disaster before it can be well-organized, and such is the case with demolition of spaces, too. So here’s the messy middle of our kitchen demo thus far:
Before:

Messy Middle:

Next up: wiring and patching and sanding and priming and painting and….you get the picture.

2 thoughts on “Demolition Diaries: Kitchen Upper Cabinets”